If you've done some research on materials used for mold-making and casting, you know how frikkin' expensive they are. It's unfortunate, because it's a huge timesaver for a customizer to have a bunch of "standard" heads in the fodder bin so they don't have to sculpt the same things repeatedly.
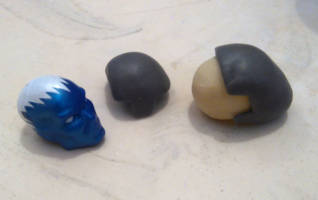
Here I'll show you how to make an inexpensive mold of a Marvel Legends Blizzard head. This is a great generic "full mask" head for characters like Spawn, Deadpool, Moon Knight, etc.
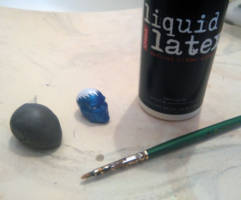
Materials needed:
â¢Apoxie Sculpt (or any durable self-hardening clay)
â¢Liquid Latex
â¢A brush (it will be ruined by this process, get a cheap one)
â¢A head
If you read my other tutorial on making texture stamps with latex, this will be familiar.
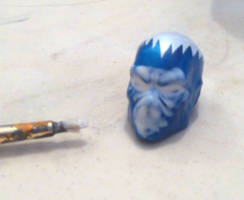
Use the brush to first work some liquid latex into all the deepest crevices. Use a light coat so you can see if you're covering everything, and to work out any bubbles.
The first 2 or 3 coats will hold all the fine details, so do a good job. It's not too hard, if your latex is thin enough it will self-level and cover the surface evenly on its own.
Let each coat fully dry between applications so you don't tear them up.
Continue to add layers until you get a thick latex shell.
Once you're past about the 3rd layer, you don't have to be careful anymore, you can just dunk the head in the latex and let it dry, dunk it again, repeat. I find it dries faster and is a lot neater if I brush/glob it on though.
The goal is to have the latex shell be thick/stiff enough to stay in the head's shape on its own, and survive removing the apoxie sculpt shell and original head. It doesn't take much, I think mine is only like 2mm thick, but I'd go thicker if you can stand all the waiting.
Once you're happy with the thickness of the latex shell, cover it all in Apoxie Sculpt. The Apoxie makes the latex keep its shape when casting. I made it about 2mm to 3mm thick.
For this mold, I didn't apply latex or Apoxie to the neckhole, when i make a cast I'll have to drill out the neck hole since the head will be one solid piece.
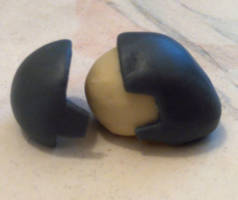
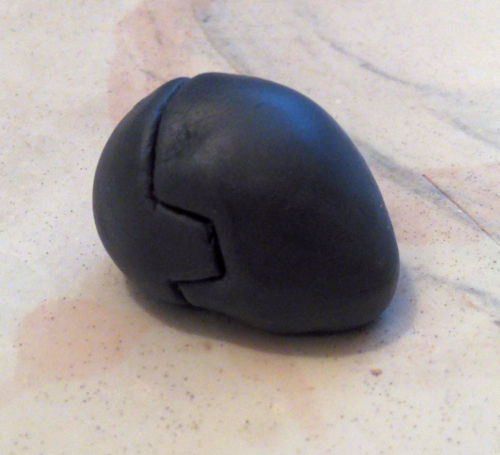
Now, while the clay is still soft, use a dull edged tool to split the clay in two sections. I recommend starting behind the ears and arcing over the top of the head. This makes it easier to remove the original head in the next steps.
Remember, you're only completely splitting the clay into two sections, leave the latex alone. You can cut the latex later if you absolutely have to though.
Notice the "tab" or "key" shape of the separation line, this is so you can keep the two halves aligned properly when casting.
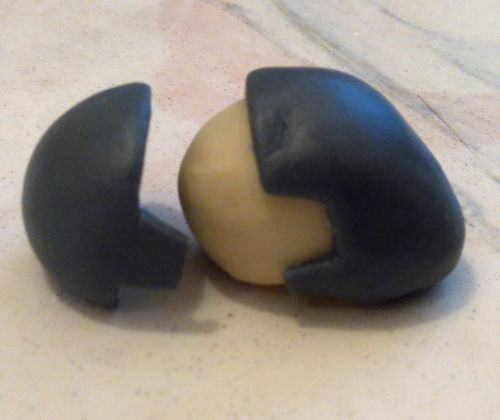
Once the clay has hardened, carefully begin yanking on the rear half so it completely separates from the latex.
Only yank off the rear half, not the front, you want the front to stay firmly stuck to the latex.
The next part can be tricky, the latex should be thick enough and have enough stretch to let you do this without tearing up the latex.
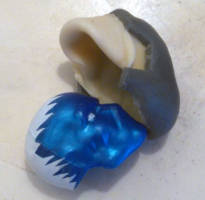
Begin to carefully lift and peel the latex away from the back half of the original head.
Get that flap up and over like this.
If you're having clearance issues, then trim the apoxie as needed.
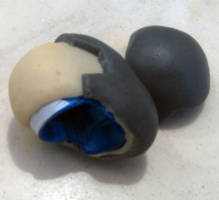
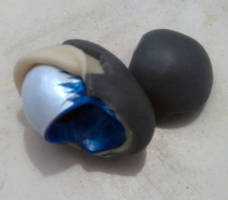
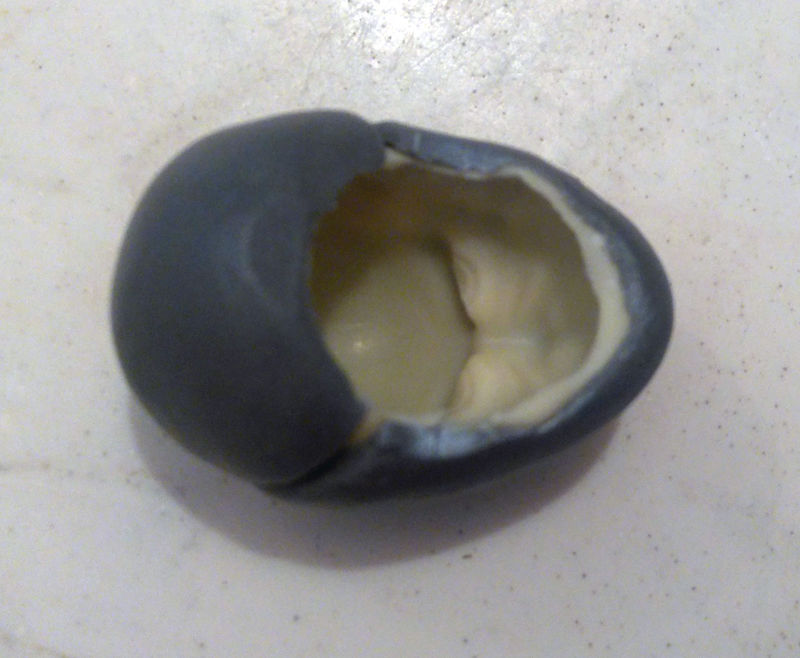
Now, gingerly yank the original head out, still making sure you don't separate the latex from the front half of the mold. (It's not the end of the world if it happens, there's just no reason to do it.)
I found it helps to put a finger on the white section of the head and apply rocking pressure in a downward motion so the head will gradually peel out.
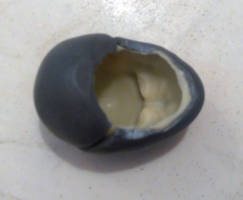
And that's it. If you didn't Hulk out and wreck everything, you'll end up with something like this.
Attach the rear half of the Apoxie shell to have a sturdy mold. You can pour casting material into this and remove the cast like you did with the original head above.
Customizing can be a fun, but dangerous hobby. These tutorials are contributed by other customizers. Some of the things recommended in the tutorials may be dangerous, such as the use of boiling water or sharp objects. You shouldn't attempt anything mentioned without adult permission and supervision. Figure Realm and/or the authors of the tutorials are not liable for any injuries or damages occurring from any attempt to follow suggestions in these tutorials.


 Update Your Tutorial
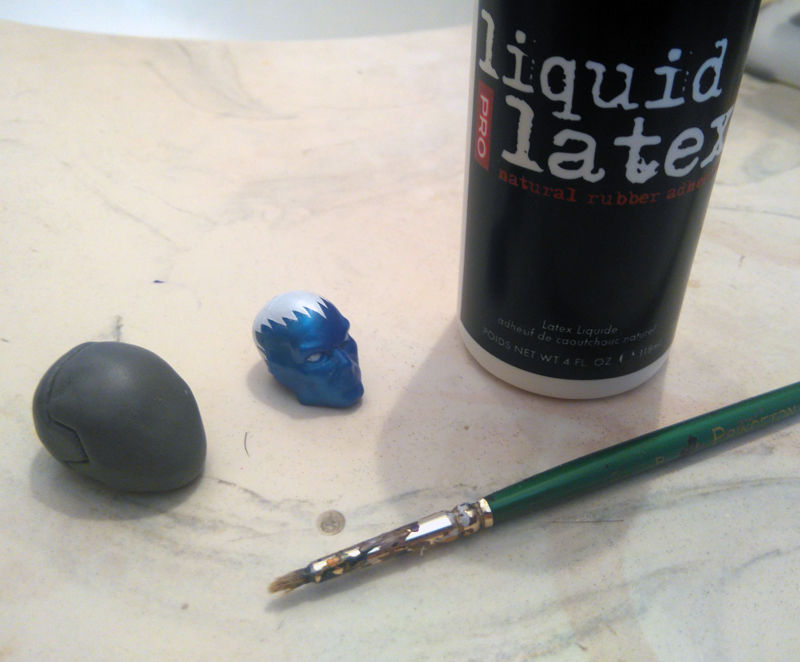
For a weapon/head I'd say FLEX 40 or 50, those are stiff but with slight...flex. I think Smooth-Cast 45D is about the same as those, works great for heads so they stay flexible enough to pop onto neck pegs without glue/clay/whatever. (I recently got some made with it)
Check the links in the other comments for more ideas
General purpose casting resin, 3 minute work time, maybe you can find it locally in art stores
https://www.alumilite.com/products/cast ... lite-white
This is nice because of the 7 minute work time, it gives you time to work out bubbles
https://www.alumilite.com/store/p/922-Slow-Set-7.aspx
Flex 60 sounds ideal for body parts, it's "as hard as a shoe sole" so technically it has enough flex to pop onto neck pegs for example, assuming you drill out the holes just right.
https://www.alumilite.com/store/p/946-Flex-60.aspx