Attaching Cast Heads to Neck Balls with Tissue and Glue Custom Tutorial
An awkwardly-named tutorial to help you attach those stiff cast heads.

Please wait...
Do you have a spiffy new head cast begging to be popped onto a neck ball but don't have a clue how to go about it because heat doesn't make it softer? Read on to learn how to tackle yet another burning first world problem.
Materials needed:
•White Glue (Mod Podge is about the same thing)
•Toilet Paper
•Narrow Stick
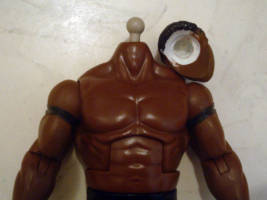
Head casts usually aren't flexible so you may have difficulties trying to attach them to a neck post. Drilling the hole wider than the ball is the only way to "pop" them on, but then obviously they fall off easily.
Hot glue is one way to attach them, but I've found that later on people complain about it because the hot glue tends to be super grippy. One hot day and is all it takes to slightly activate the hot glue and have it seize up the joint.
So, let's try Mod Podge instead (white glue).
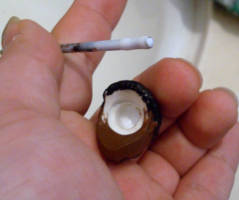
Dab a little glue in the head's hole and smear it around.
Don't drench this in glue or it'll take forever to dry and harden.
Don't thin it with water, it just makes the MP runny and won't dry quick.
All you're doing at this stage is getting the head to rest at the height you want.
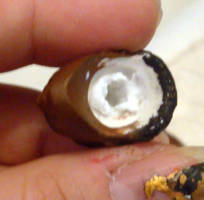
Tear off a little piece of paper and stuff it in there. Add a drop of glue and stuff some more paper in there until the desired height is achieved. Take the head off and let it all dry and harden.
Now the goal is to fill any empty space leftover, so use as much paper/glue as necessary. Just be sure that when you press the head on the neck post that the paper will squish out and under the ball, so it traps it in there once it hardens.
The picture here shows how much I needed for this head. Once I firmly pressed the head on, the paper squished out under the ball, trapping it.
And that's it, let it harden.
Turn the head like once an hour, just to make sure nothing is seized up. When the MP and tissue paper dries it becomes a tough semi-flexible material.
Since this was a Mattel WWE figure, I moved the head around to work the paper into a shape that allowed it to tilt and pivot as usual, then let it harden.
I've done this a few times now and it works fine.
Quick tip, use slightly more paper than you think it needs because the glue contracts a little once it dries (water content evaporates I guess). If you don't use enough you'll still have a floppy head, though you could probably just yank it off and add a little more paper/glue.
Be sure to post results!
Disclaimer
Customize at your own risk!
Customizing can be a fun, but dangerous hobby. These tutorials are contributed by other customizers. Some of the things recommended in the tutorials may be dangerous, such as the use of boiling water or sharp objects. You shouldn't attempt anything mentioned without adult permission and supervision. Figure Realm and/or the authors of the tutorials are not liable for any injuries or damages occurring from any attempt to follow suggestions in these tutorials.
User Comments
Custom on eBay
Previous / Next Custom Tutorial


 Update Your Tutorial
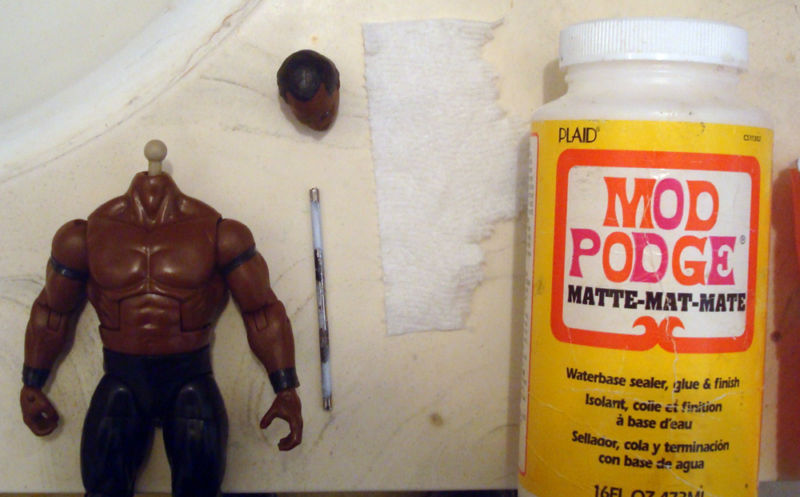