NECA Balrog Repairs Custom Tutorial
Explains how to repair parts of the NECA Balrog figure
This custom tutorial was contributed by
Deaditor
Please wait...
The most elusive and expensive lord of the rings figure requires a bit of maintanance.
A while back I had a few users ask me about how I would repair a Neca Balrog and I explained that as I don’t have one I can’t really even begin to give instructions. Then for Christmas I purchased one and I knew the some parts neeeded to be repaired but upon arrival the hand and tail were broke. So this is how I fixed the Balrog. Originally I did a full video series but instead I’ve jaut taken some shots from the video to try and give a summary.
Making a joint #360 not 420
So the Neca Balrog has weak joints because they are hollow in several areas. The way I went about fixing them is to insert a rod between the two holes and glue thur maintaining the articulation. I used a boot from a Star Wars Figure.
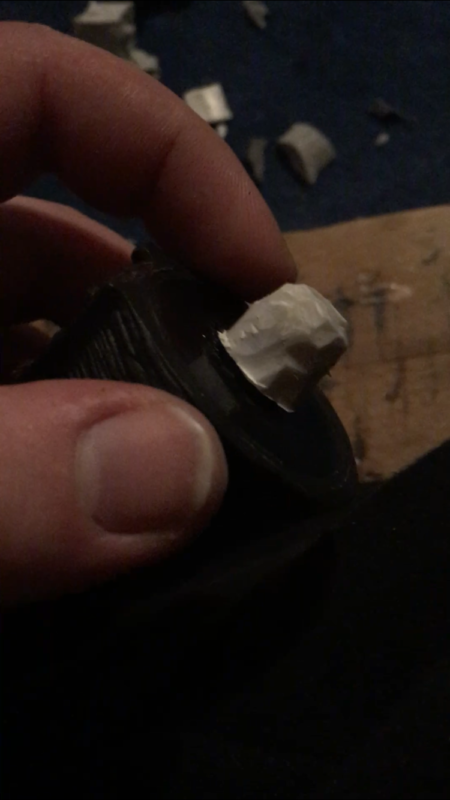
Whittling
I whittled the boot down until it was more of a rod shape then inserted into the hand then the arm to check if it would work and it did then I removed added super glue and hen fixed the hand.
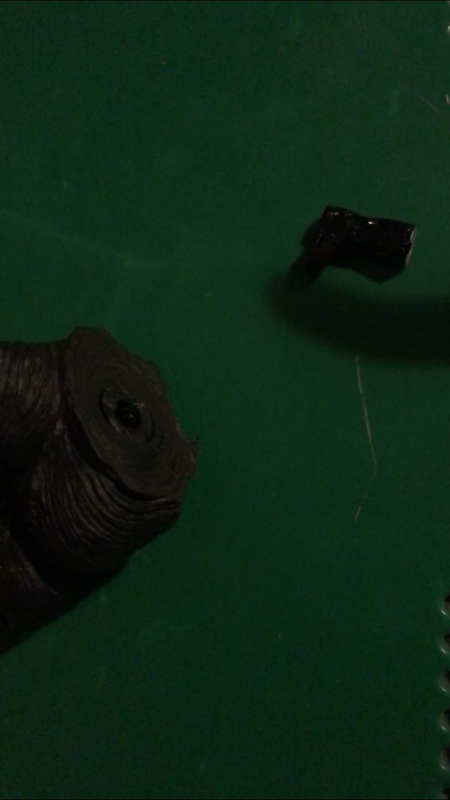
Tales of the tail
Now the tail is the most inconveniently designed joint I have seen in recent years. It seems to be a screw joint with brittle plastic around it so no wonder it fell out and the Balrog requires the tail to stand and support its weight.
Assassin torso
So following my assassins creed customs I have a lot of spare parts especially after the Armour of Altair Ezio custom who took parts from around 4 expos and an Altair Figure. So here are two different Ezio pieces a lower ab crunch part and the pelvis from another one. These were used because there is a large thick sting non brittle plastic joint connecting them.
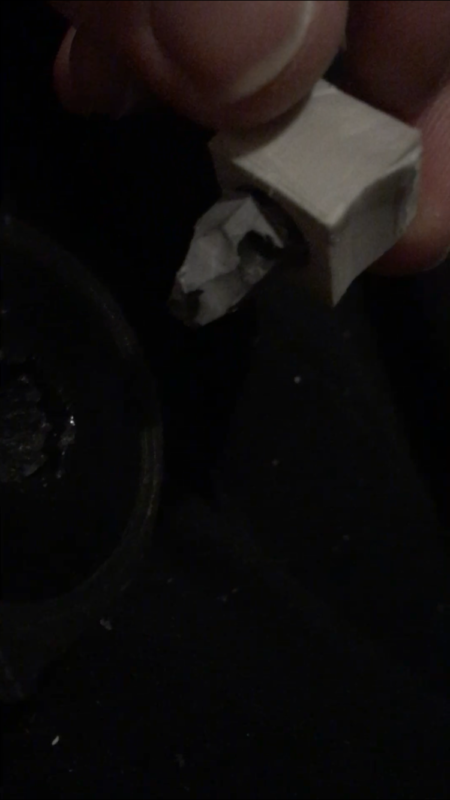
More whittling
So to begin with I whittled the two parts down to squarish shapes much smaller and whittled the interior of the tail and the base of the figure where the tail begins.
Further whittling
Then to get the joint to fit more shaving down had to be done then ithe black pelvis now a nub was fitted into the loose tail and glued.
Final whittling
Lastly the other end which is larger was whittled down to fit the hole on the other end (the tail beginnings that are part of the body) and once the glue dried I tested the figure and it’s been about 4 months and it still stands so I would recommend this method if one needed to fix the tail or hand. As long as you aren’t using a brittle plastic swivel joint you shouldn’t have a problem and I believe most of the joints being swivel joints they can be repaired using either this method or the hand one.
So in conclusion that is how I fixed my Balrog back in December I hope this helps anyone who needed an idea how to approach this. Furthermore the wings being as heavy as they are can looses the plastic around the shoulders where they are spotted in so you can repair thy with super glue and brute force holding the parts in place or gently bashing it with your palm rather than a hammer to secure back into its original slots and then glue.
Disclaimer
Customize at your own risk!
Customizing can be a fun, but dangerous hobby. These tutorials are contributed by other customizers. Some of the things recommended in the tutorials may be dangerous, such as the use of boiling water or sharp objects. You shouldn't attempt anything mentioned without adult permission and supervision. Figure Realm and/or the authors of the tutorials are not liable for any injuries or damages occurring from any attempt to follow suggestions in these tutorials.
User Comments
Custom on eBay
Previous / Next Custom Tutorial


![NECA Balrog Repairs Custom Tutorial Picture #1 [Broken hand broken tail]](userimages/customtutorials/200/thumb_110-1-5ac2688b6793a.jpg)

![NECA Balrog Repairs Custom Tutorial Picture #2 [Making a joint #360 not 420]](userimages/customtutorials/200/thumb_110-2-5ac268ee897c6.jpg)
![NECA Balrog Repairs Custom Tutorial Picture #3 [Whittling]](userimages/customtutorials/200/thumb_110-3-5ac269a9e498a.jpg)
![NECA Balrog Repairs Custom Tutorial Picture #4 [Fixed hand]](userimages/customtutorials/200/thumb_110-4-5ac269d84781c.jpg)
![NECA Balrog Repairs Custom Tutorial Picture #5 [Tales of the tail]](userimages/customtutorials/200/thumb_110-5-5ac26a6d0a493.jpg)
![NECA Balrog Repairs Custom Tutorial Picture #6 [Assassin torso]](userimages/customtutorials/200/thumb_110-6-5ac26ace641aa.jpg)
![NECA Balrog Repairs Custom Tutorial Picture #7 [More whittling]](userimages/customtutorials/200/thumb_110-7-5ac26b9d88674.jpg)
![NECA Balrog Repairs Custom Tutorial Picture #8 [Further whittling]](userimages/customtutorials/200/thumb_110-8-5ac26bde2be75.jpg)
![NECA Balrog Repairs Custom Tutorial Picture #9 [Final whittling]](userimages/customtutorials/200/thumb_110-9-5ac26c35a9cc9.jpg)
 Update Your Tutorial
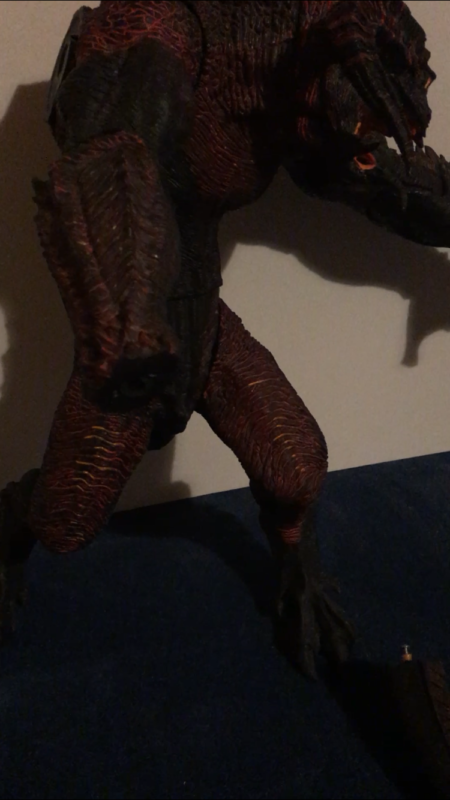
The main issues I have with my Balrog is repairing the 2 legs. I would upload photos if I could.
Imagine my Balrog with 2 snapped leg joints at the top of each leg. Please note the actual legs are perfectly fine it's just the joint that needs repairing.
Therefore I need a new joint for each leg so that I can reattach each Leg to the Thigh/Upper body of the Balrog.
I probably also need to somehow remove damaged plastic joint bits stuck inside the Upper legs and Torso/Thigh.
Please Help Dude..P.S I definitely want to keep the moving Articulation in the joints with a repair.
Cheers Deaditor