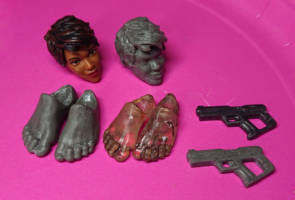
Customizing becomes a money pit when you constantly buy whole figures to harvest only one or two parts. Use Oyumaru to save a ton of money by replicating all those bits and bobs.
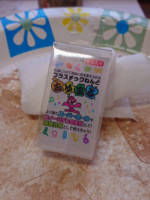
Oyumaru is a thermo-plastic (maybe it isn't plastic but let's call it that) from Japan that becomes as soft as clay when heated, then solidifies into a hard rubbery material when it cools.
You can get it off places like Amazon for about 8 bucks (12 sticks, 2 packs of 6). It doesn't look like much, but it's completely reusable and you don't need much for small items like hands, weapons, etc.
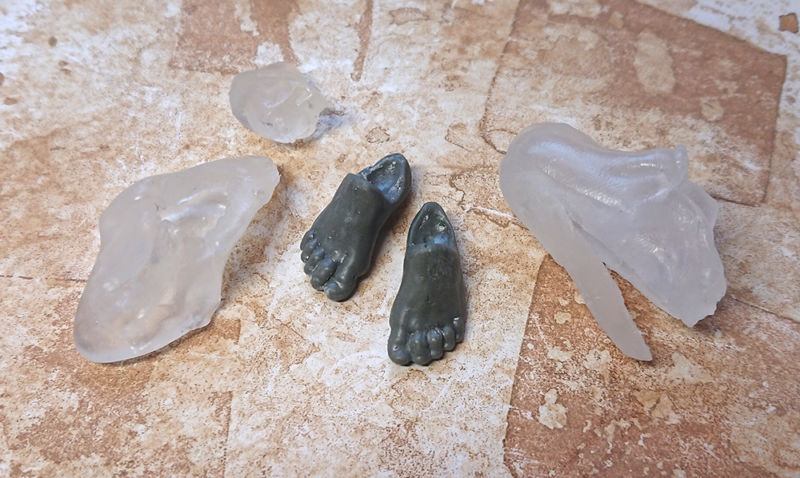
Here are some things I made by stuffing some Oyumaru molds with Apoxie Sculpt.
There's no need for a release agent, the AS easily pops out after it hardens.
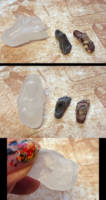
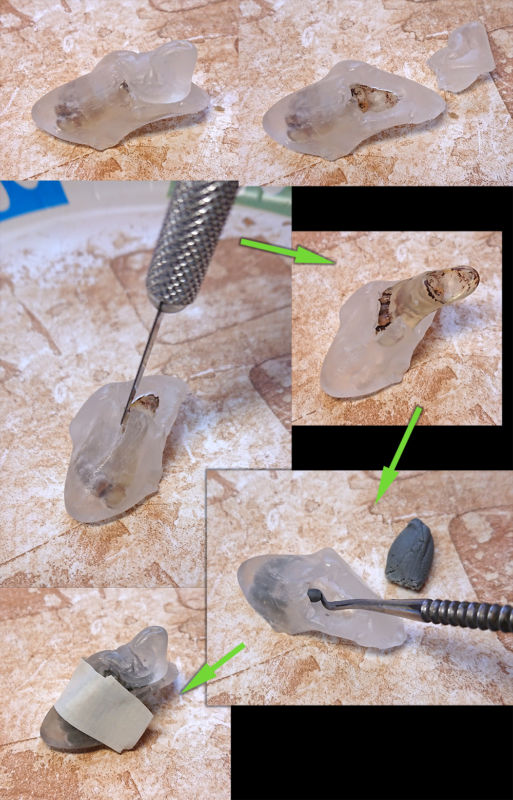
This is the fastest way I could think of making the mold.
•Press the foot into the Oyumaru, making sure some of it squishes into the peg hole so you have a guide for drilling later.
•Engulf the foot in it, making sure you don't trap any air bubbles or water.
•When it's cool, make a clean cut along the sole of the foot to create a flap you can lift to pop out the foot.
•Stuff the mold with your preferred sculpting material, close the flap and squish it around a little to make sure it's holding the right shape.
•Use string or tape to keep the flap shut, but don't make it so tight that it deforms the mold.
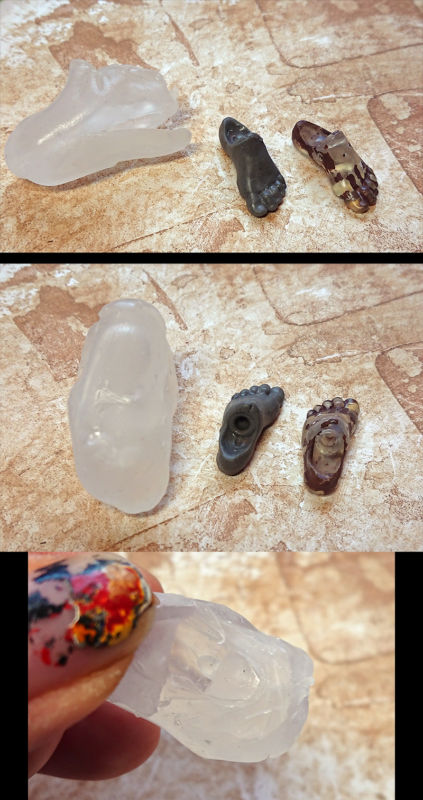
For a more traditional/professional mold, make it in multiple pieces.
Here the process is about the same, but I made a separate piece for where the peg hole is. Also, I made the cut along the top of the foot.
Try to make the cuts in places where it's easy to remove the flash/mold lines.
It's a straightforward process, and you'll get better at making more effective molds the more you practice.
Note that the AS pieces might be tacky when you pop them out, I leave them alone and the tackiness goes away. I'm guessing it just needs that little extra time to cure completely after taking it out of the mold.
Here I made a mold of a wrestler head I sculpted.
•Engulf the head in Oyumaru, leaving the neck area open.
•When that cools, you can stick more Oyumaru on the neck part to make a separate piece you can pull off. That way you have an easy way to stuff the mold with Apoxie Sculpt.
•Make a slit so you can pop out the head.
-----
For this head mold I didn't make a "neck plug" because I wanted to see if I could swish around some liquid latex in there to make a stretchy removable mask! It didn't work because the latex didn't completely cure, however, the parts that did cure looked good. I'm not sure how to force the latex to cure, I guess I need to use much thinner coats at a time.
----
The bottom image is a push mold of the face area, same idea, I wanted to make a latex piece of just the face.
Try this to make gross skin masks for Marvel's Chameleon or some horror figures.
Customizing can be a fun, but dangerous hobby. These tutorials are contributed by other customizers. Some of the things recommended in the tutorials may be dangerous, such as the use of boiling water or sharp objects. You shouldn't attempt anything mentioned without adult permission and supervision. Figure Realm and/or the authors of the tutorials are not liable for any injuries or damages occurring from any attempt to follow suggestions in these tutorials.


 Update Your Tutorial
