Cracking Figures Apart With Minimal Damage Custom Tutorial
An alternate method for cracking figures apart

Please wait...
Cracking open figure torsos is one of the more annoying parts of this hobby, but you have to get good at it to eliminate paint rub. It even makes painting easier since you can isolate body parts.
There's no right way to do it, keep experimenting to find new ways to crack them open while minimizing the damage done to the figure.
Tools needed for this tutorial:
•Screwdriver
Before and After
I'm cracking open Radioactive Man from the Target Exclusive 3-pack.
Find the chest's seam
Bend the figure all the way forward to make the chest's seam easy to access near the ab crunch.
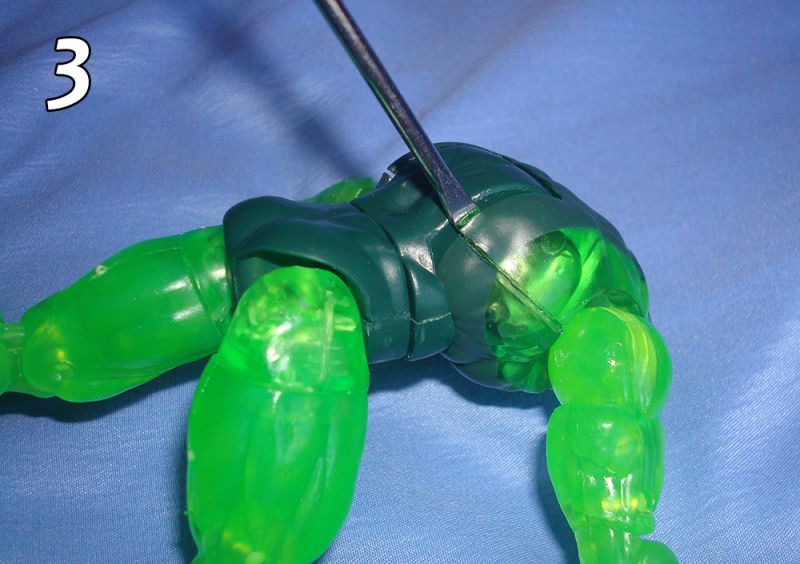
Jam in the screwdriver
Slide the screwdriver in the space between the waist piece and chest. Line up the side of the screwdriver with the seam, this is important.
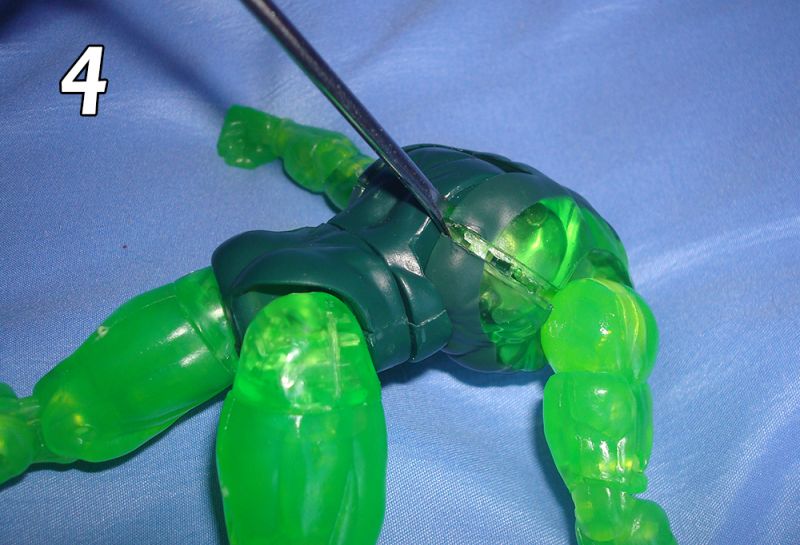
Do the Twist
Twist the screwdriver until the torso cracks/shears along the seam. There's no right way to do this, just feel your way through it. The goal is to put as much pressure as possible on the seam so the two halves snap apart at that spot. You can use the waist part as a fulcrum if you want.
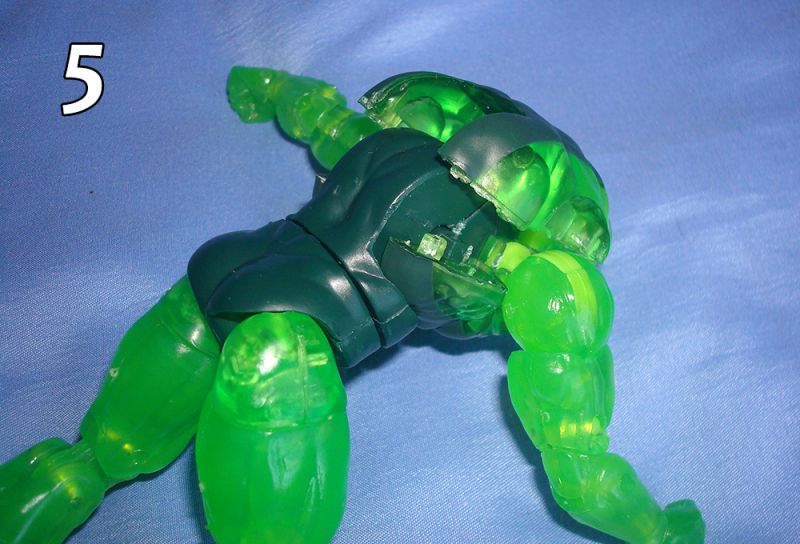
Open the chest
If the halves snap apart, you'll most likely have something like this, the seam splits all the way up to the armpit. Now do the same for the other side. After that you should be able to pry the halves apart so it keeps splitting all the way up the neck. Be careful not to warp the plastic at the neck.
The advantage of this method is that you won't leave big ugly holes in the figure like when you have to drill a hole to jam a screwdriver in. However, this method isn't a guaranteed success. I suggest you try this first because you may luck out and it'll work quickly and painlessly. I did this to both Radioactive Man figures and a Captain America with little fuss. One of the Captain Americas was stubborn though, I had to drill a hole for the other side since it refused to crack otherwise.
Hope this helps and be sure to share your experiences!
Disclaimer
Customize at your own risk!
Customizing can be a fun, but dangerous hobby. These tutorials are contributed by other customizers. Some of the things recommended in the tutorials may be dangerous, such as the use of boiling water or sharp objects. You shouldn't attempt anything mentioned without adult permission and supervision. Figure Realm and/or the authors of the tutorials are not liable for any injuries or damages occurring from any attempt to follow suggestions in these tutorials.
User Comments
Custom on eBay
Previous / Next Custom Tutorial


![Cracking Figures Apart With Minimal Damage Custom Tutorial Picture #1 [Before and After]](userimages/customtutorials/100/thumb_91-1-55e26dc47ffa2.jpg)

![Cracking Figures Apart With Minimal Damage Custom Tutorial Picture #2 [Find the chest's seam]](userimages/customtutorials/100/thumb_91-2-55e26dcfc8f03.jpg)
![Cracking Figures Apart With Minimal Damage Custom Tutorial Picture #3 [Jam in the screwdriver]](userimages/customtutorials/100/thumb_91-3-55e26ddc36e25.jpg)
![Cracking Figures Apart With Minimal Damage Custom Tutorial Picture #4 [Do the Twist]](userimages/customtutorials/100/thumb_91-4-55e26dee11b4b.jpg)
![Cracking Figures Apart With Minimal Damage Custom Tutorial Picture #5 [Open the chest]](userimages/customtutorials/100/thumb_91-5-55e26dfdd33f2.jpg)
 Update Your Tutorial
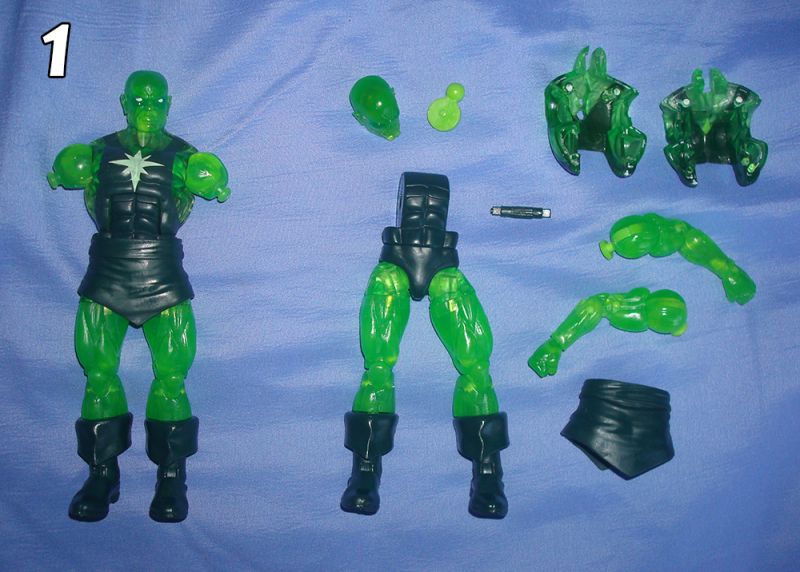
The Marvel Legends are welded together though, I think, it makes it hard for them to be separated, which means you need more pressure, more stress, making them more prone to deform.
Something you could try though is heat the torso to make it slightly more flexible, then use a sturdy utility blade to score along the seam. This sometimes makes it easier to pry the halves apart. I use a puncturing motion rather than a slicing motion, to penetrate into the plastic.
It's never easy since the toy factories have to make figures hard to crack open on purpose. I wish there was a liquid or something we could dunk them in to dissolve the glue inside, then figure out how to deal with the figs that have sonic welding.
Maybe the plastic got warped in a way that made it looser. Maybe the pieces in the ab need to be reseated. Maybe you just need to clamp it back together tighter. Experiment and find out what could have made it looser.